

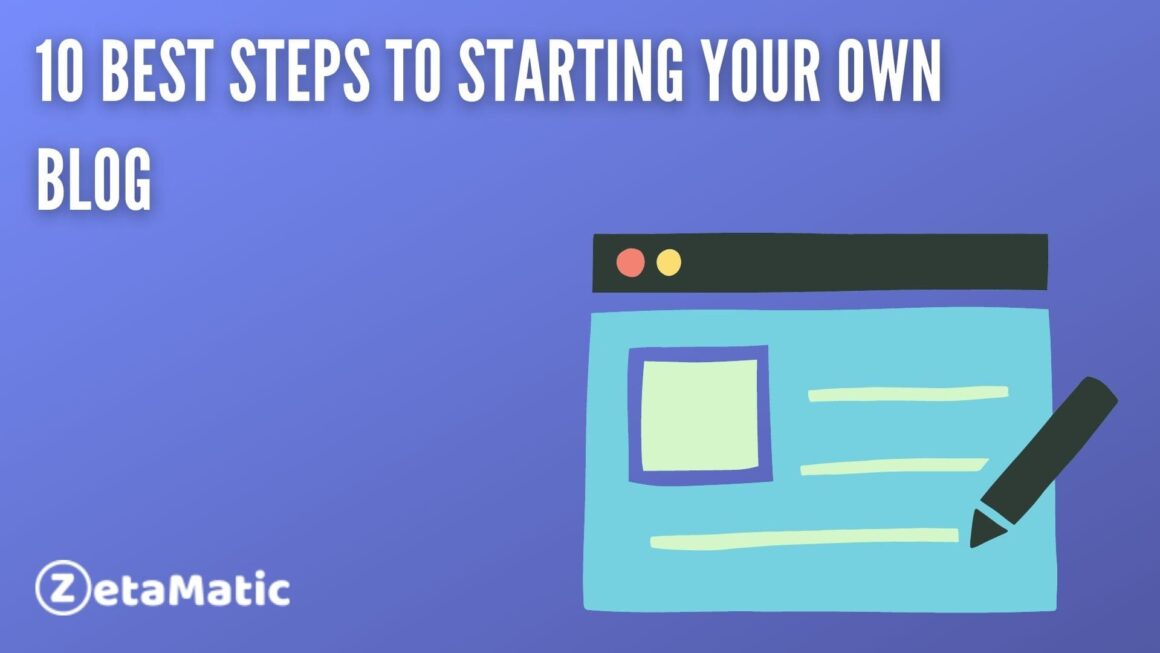
Starting your own blog doesn’t have to be difficult – in fact, it can be easier than you think! This step-by-step guide will take you through the process of setting up your domain, choosing your content management system (CMS), finding and designing the right layout, and getting started on posting your first few posts.
By the end of this tutorial, you’ll have your very own blog ready to go – all it takes is ten easy steps!
Step 1: Come Up With an Idea

Whether you have a burning desire to share your expertise, want an outlet for your creativity, or just want a space to document and reflect on all of life’s great moments, there’s nothing stopping you from starting your own personal or professional website.
To get started, think about what topic interests you most—it can be as broad or specific as you like. Then, come up with a few keywords and phrases that other people might use if they were looking for content similar to yours.
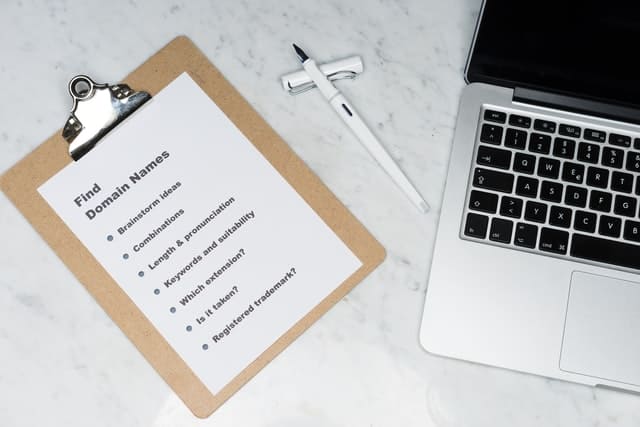
The domain name is up next: If you plan on having multiple pages of content on your site (like we do), make sure each page has its own unique URL address that leads back to it. Try brainstorming some ideas by listing out potential topics in one column and domains in another.
You could also try using Google Keyword Planner to find popular search terms related to your niche. And once you find a good domain name, check out our guide on how to buy a domain name without getting scammed!
Once you have both your idea and your domain figured out, it’s time to start building! We suggest using WordPress because it’s easy-to-use, customizable, secure, and free.
Step 2: Find Out If Your Idea Is Unique Enough

It may sound obvious, but it’s worth pointing out that if you’re going to start a blog website, your content needs to solve a problem.
You should always be looking for ideas and inspiration from other bloggers and mediums as well—you never know where you might find that next big thing. But make sure your idea can actually become reality; does it fill a need or want? How much demand is there for it?
If people are searching for blogs like yours on Google and social media sites like Pinterest and Instagram, that can indicate demand. It’s important that your idea has potential before you invest time and money into building an actual blog site around it.
So take some time to brainstorm, do some research, talk with friends and family about what they think of your idea, etc.
Step 3: Create a Title for Your Blog Post

Blogging can be a great way to connect with other bloggers and industry experts. All you need is a good title for your own content. Your title should be easy to remember, and it should inspire curiosity in readers.
Use active words, not passive ones (e.g., We tested instead of It was tested). The headline for your post should also include keywords or a topic tag. Resources like Ahrefs and Shine Ranker Review can help in this area. This will make it easier for people searching for information about that topic on Google or Twitter to find your content, increasing traffic and engagement.
Make sure your post title accurately reflects what you’re writing about and incorporates some important keywords related to your subject matter. Most blogging platforms allow you to edit a page’s URL, so consider how search engines might view that page by incorporating relevant key phrases into its name.
If someone searches for tips on how to start a new business, then your post might have How To Start A New Business as part of its URL name.
Step 4: Determine Who Will Read Your Blog

Before you start writing a single word, spend some time figuring out who you’re trying to reach. If it’s an existing audience (you already have an email list or podcast listeners) then skip down to step 7.
Otherwise, take a few minutes and think about your ideal reader—where do they hang out online? Then ask yourself what kind of content they might enjoy reading on your new blog?
Keep these factors in mind as you move forward with your new site! Remember that there are different types of blogs – how-to blogs are popular but make sure you know if yours is a general interest or niche-specific type.
How-to blogs can be super lucrative but they also tend to attract a lot more competition than other kinds of sites so doesn’t expect instant success without working hard at it!
Step 5: Choose What Type of Content to Provide

Decide what type of content you want to provide for your audience. Will it be short articles? Longer posts? More informative and detailed pieces, or more fun and whimsical?
This can make a big difference in how much effort you spend on research, planning, and writing. It will also help determine how often you post – if your goal is to write shorter posts with less frequency, that’s one thing; if you’re going for longer-form content that takes more time to put together, that’s another.
Step 6: Choose a Topic For Each Post on Your Blog

Choosing a topic for each post is one of the most crucial aspects of blogging. It’s where you tell your audience exactly what they can expect when they click on one of your posts.
If people don’t know what your site is about, then it’s going to be really hard for them to come back and see you regularly. If you don’t have an established site, then by choosing a topic, you also set yourself up as an expert in that area so that people will come to trust your expertise and want more information from you.
When selecting a topic, think about what your readers would like to read about – are there topics that you write emails or comments to friends about? Is there something that comes up often at work or with friends? Those are great topics!
Once you decide on a few topics, write down each one along with how often you plan to write (daily/weekly/monthly).
Remember: consistency is key! If someone knows they can always count on getting something new from you every day, week or month then they will feel more inclined to keep coming back. This doesn’t mean that if your schedule changes and you miss a day or two (or even more) then everything falls apart – but if someone only sees three posts in two months then their loyalty may start wavering.
Step 7: Decide How Often You Want To Publish Posts on Your Blog

To start, you need to decide how often you want to publish posts on your site. Some sites like LifeHacker publish every day or two, while others may wait a week before posting new content.
This will help determine how much time you should set aside for blogging. If publishing daily is ideal for your audience, but it’s not realistic given your schedule, it might be better to post more infrequently – if that’s something they’re willing to deal with.
Or, if you have extra time each week and would enjoy creating content on a regular basis, then setting up an editorial calendar (and sticking to it) can help keep things consistent. Either way, make sure your readers know what to expect when they visit your site by clearly communicating how often you plan to publish new content.
Step 8: Choose A Domain Name For Your Website
One of your first tasks when starting a new website is choosing an appropriate domain name. When picking a name, keep these tips in mind: short, easily pronounceable, and unique.
Additionally, when selecting a domain, don’t forget to consider if there are any already-existing brands or trademarks that contain your desired domain.
A simple search on Google will help you determine if anyone else has chosen a similar name. If so, try brainstorming alternatives that can incorporate what you have in mind but won’t step on someone else’s toes. For example, let’s say I want to start a business called Cupcakes by Jane.
However, I quickly realize that there is already a national chain called Cupcake Stop & Shop. In cases like these, it might be better to use an alternative such as Jane’s Cupcakes or Jane’s Treats.
Step 9: Pick A Web Hosting Provider (If Needed)

In order to get started, you’ll need a place for your website files and data. This is typically accomplished through a third-party provider known as a web host.
When picking a web host, there are two critical aspects you’ll want to think about: cost and features. Cost should be an easy one – find a hosting provider that best fits your budget.
Features will vary depending on what type of site you’re building (more on that in step 10). Some common features include unlimited bandwidth, email accounts, databases, FTP accounts, and more.
If you have no idea what any of these things mean then don’t worry – just find a hosting company that fits within your budget and seems reputable. There are plenty out there!
Step 10 (Bonus Tip): Build a Following Before Launch Day!

Because a little bit of buzz can go a long way. Reach out to a few of your most tech-savvy friends and ask them if they’d be willing to share your site with their own audience as soon as it goes live.
If you’re lucky, you may just see some traffic early on without even having launched! This can also help you get some initial feedback from people who are actually interested in what you have to say – which is always nice.
If you found this post useful, then please take a moment to share it on social media. Subscribe to our YouTube channel for videos related to WordPress plugins and themes. Follow us on Facebook and Twitter for more updates.
You may also like: