

- Launch Your First WooCommerce Dropshipping Store for Free
- Step 1: The Foundation, Get a Free Digital Street Address
- Step 2: The Engine, Install WordPress and WooCommerce
- Step 3: The Design, Select a Free Storefront
- Step 4: The Inventory, Connect to Free Suppliers
- Step 5: The Catalog, Import Your First 10 Products
- Step 6: The Markup, Set a Killer Price
- Step 7: The Launch, Publish Your Store
You don’t need a massive cash pile to start selling online. Forget the corporate sludge about “synergies” and “leveraging assets.” You just need a practical roadmap, active hustle, and zero-cost tools. We’re building a real dropshipping store, an actual selling machine, using the best free ecosystem available: WordPress and WooCommerce. You can do this.
This is your high-impact, step-by-step guide to launch your first WooCommerce dropshipping store for free. We’re cutting straight to the money-making steps.
Launch Your First WooCommerce Dropshipping Store for Free
Step 1: The Foundation, Get a Free Digital Street Address
You can’t run an online store without an online home. You need hosting and a domain name. Don’t worry, we’re keeping this $0.
You won’t be paying a web host yet; we’re launching on training wheels. Select a free WordPress host offering a subdomain, which is a website address like yourstorename.wordpress.com or yourstorename.000webhostapp.com. This keeps your wallet shut, proving the concept before you drop cash on a custom .com.
Action:
- Sign up for a free plan on a platform like WordPress.com or a free host like 000webhost.
- Choose the WordPress installation option.
- Pick a temporary subdomain that matches your chosen niche. It’s the digital land where you’ll build your retail empire.
Step 2: The Engine, Install WordPress and WooCommerce
WordPress is your content management system (CMS), the software that runs the site. WooCommerce is a powerful e-commerce plugin that turns a WordPress site into a functional store. Both tools are open-source; they’re free to use forever.
Action:
- Log in to your new free hosting dashboard (see Step 1).
- Install the core WordPress software (often a one-click process).
- Navigate to your WordPress dashboard. Go to Plugins > Add New.
- Search for WooCommerce. Click Install Now, then Activate.
- Run the basic WooCommerce setup wizard, but skip the recommended options for now; just input your location and currency.
Step 3: The Design, Select a Free Storefront
Your store needs a look, a clean presentation that convinces shoppers to trust you. Don’t spend a dollar on premium themes. You don’t have to. WordPress offers thousands of free themes.
Choose one built for speed and WooCommerce compatibility. Themes like Astra, OceanWP, or the default Storefront are excellent, fast, and completely free options. They’ll look sharp on both phones and desktops.
Action:
- From the WordPress dashboard, go to Appearance > Themes.
- Click Add New.
- Search for and install a free, WooCommerce-ready theme.
- Click Activate. You’ve now got a legitimate, operational storefront.
Step 4: The Inventory, Connect to Free Suppliers
You can’t dropship without products to sell, and you can’t pay for expensive sourcing software right now. We’re focusing on AliExpress, the most accessible supply warehouse on earth, because it requires zero upfront payment.
You’ll use a free plugin or Chrome extension to bridge your store directly to millions of Chinese-sourced products. Search for tools like AliNext or the free version of AliDropship on the WordPress Plugin Repository. These tools simplify product import and fulfillment.
Action:
- Go to Plugins > Add New and search for a free AliExpress dropshipping plugin (e.g., AliNext).
- Install and activate the plugin.
- Install the plugin’s corresponding free Chrome browser extension. You’ll need it to grab product data.
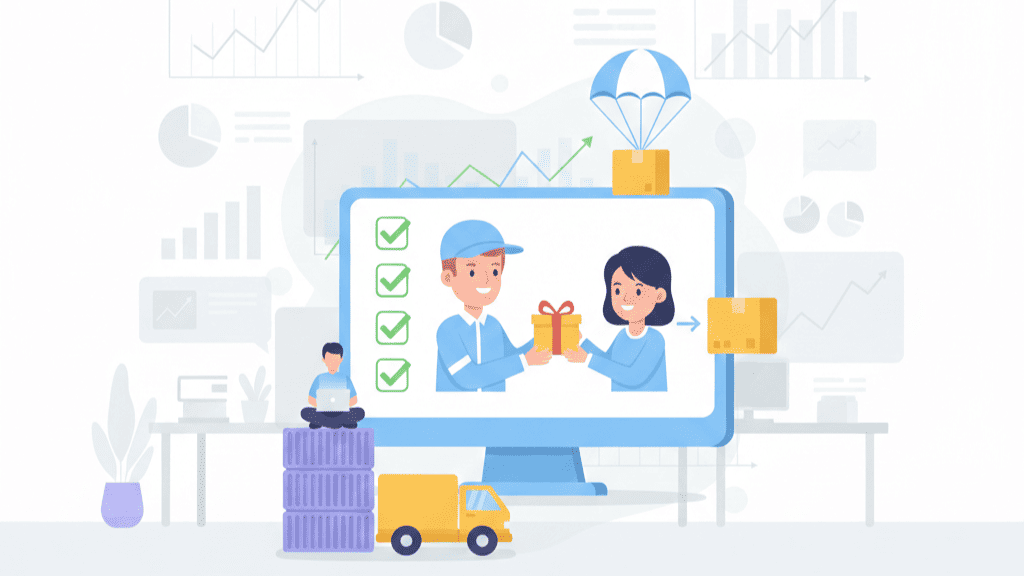
Step 5: The Catalog, Import Your First 10 Products
This is where you stock the shelves. Use the Chrome extension to browse AliExpress. Look for products with a high number of orders, excellent supplier ratings (4.7+ stars), and clear, high-quality photos. This matters. Don’t pick junk.
The free dropshipping plugin you installed will place an Import button on AliExpress product pages. Hit that button. The product title, description, images, and base cost (your cost) populate right into your WooCommerce store.
Action:
- Browse AliExpress and use your Chrome extension to find 10 winning products.
- Click the Import or Add to Import List button on the product page.
- In your WordPress dashboard, go to the product list generated by your plugin.
- Edit the products. Write unique, human-sounding descriptions. Don’t use the supplier’s flat copy. This is essential for SEO and sales.
Step 6: The Markup, Set a Killer Price
You don’t make a profit selling at the supplier’s price. Set a clear pricing strategy now. A common rule is to mark up the product cost by 2-3x, maybe more for low-cost impulse buys. If a widget costs you $5, list it for $15 to $20.
Action:
- In the WooCommerce product editor, find the Regular Price field.
- Input your selling price.
- The supplier cost is the Cost of Goods (COG). WooCommerce tracks your profit margin.
Step 7: The Launch, Publish Your Store
You’ve got a free site, a free e-commerce engine, free inventory, and a sharp theme. The store is ready to handle real orders.
Go to Settings and make sure the policies, shipping, return, and privacy are drafted and linked. Then, flip the switch. You’re live.
Action:
- Review your 10 products. Are the images clear? Is the price right?
- Make sure your payment gateway (Stripe or PayPal, both free to install) is connected under WooCommerce > Settings > Payments. You only pay a transaction fee when you make a sale.
- Switch your store from maintenance mode (if you used one) to Live.
You just launched a fully functional, zero-cost dropshipping store. Now the real work begins: marketing the digital storefront and driving traffic. You don’t have to spend a dime to start the business, but you need to hustle to make it a success. The technical setup is done. Get selling!