


The Checkout Address Autofill for WooCommerce Pro plugin includes a useful feature called Google Autofill Shipping Field Mapping. This feature allows you to autofill and displays multiple address field data in a single field. For example, you can use this feature to display all of the data from the Street Address, Address 2, and Zipcode fields in the ZIP code field. To learn how to do it, simply follow the instructions.
You can watch this video to learn how to do field mapping on your checkout page.
- Address Separator: Choose any key that will appear between the address parts on the Checkout page. This key will separate those address fields, allowing you to better identify each of the addresses. The default address separator is comma (,), there are more options like #, Space, ., @, #, %, ^, &, *, :, ;’ , ?, _, -, \, / are available.

To assist you understand how it works, we’ve created a separate address separator video.
- Visit the checkout page and enable the Shipping Address Fields if it is not enabled by default to obtain the form field name property whose mapping needs to be configured.
![]()
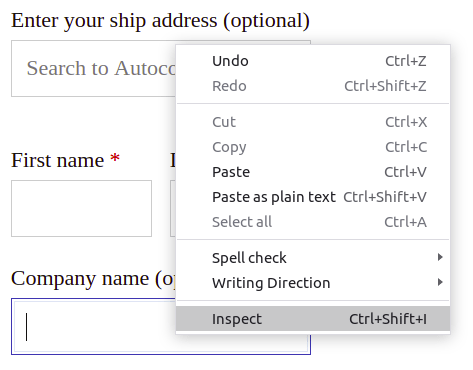
- Select the field where you want to configure field mapping, then right-click and select Inspect.
- Return to the plugin settings page after copying the text in the name field.
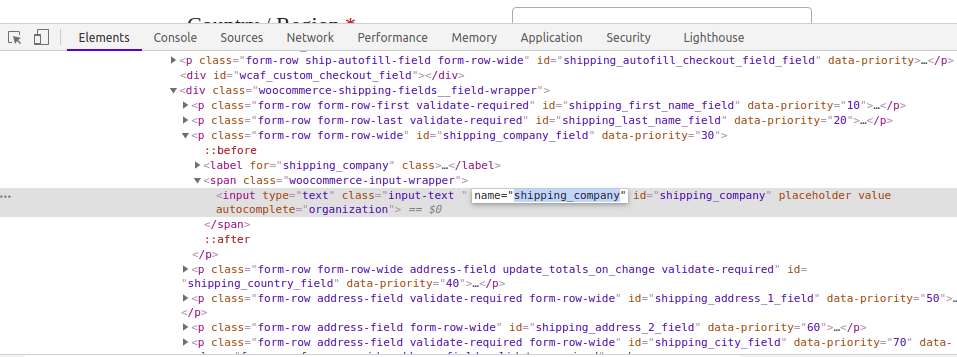
- In the mapping form for Google Autofill Shipping Field Mapping, this field name property should be provided as Checkout Field ID. (For example shipping_company).
- Select the Google Autofill Field variables to be mapped for the corresponding checkout form field from the drop-down list. (For example: district, state_long, postal_code).
- Save your changes.

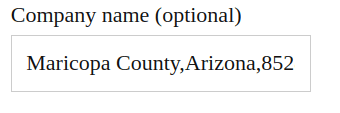
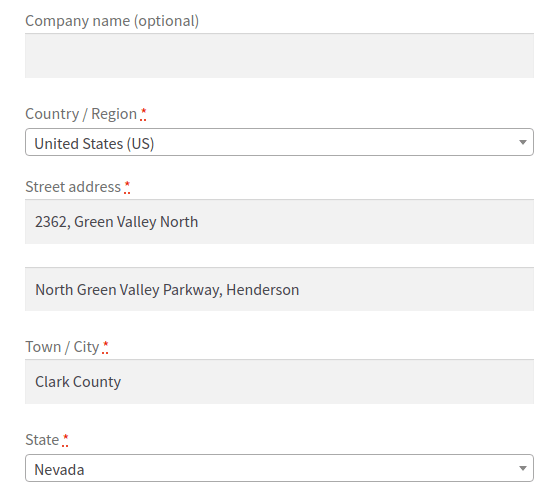
- Finally, verify the shipping address checkout field results. The district, state long name, and postal code are all mapped in the shipping company name field, as you can see.
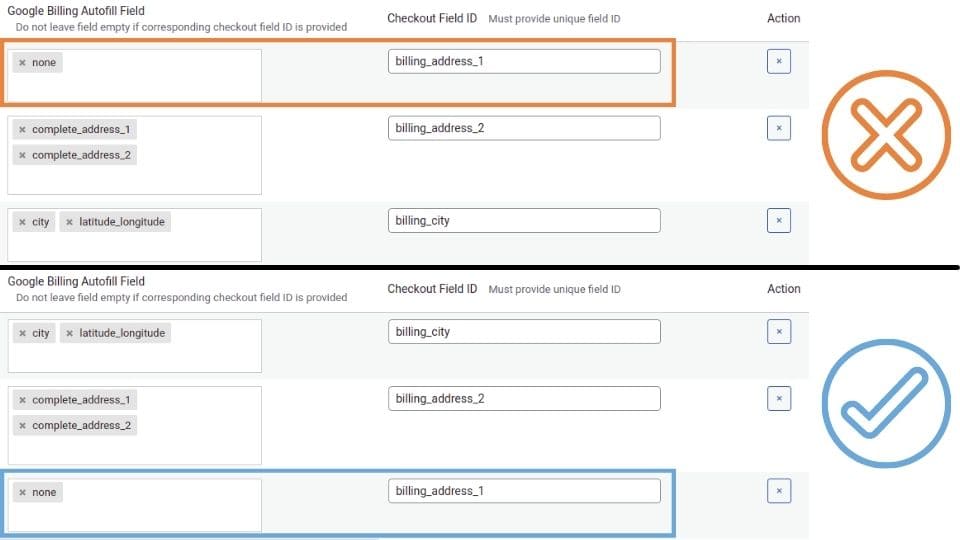
The ‘none’ Property
In the Google Autofill Shipping Field Mapping, a special setting allows you to leave any address fields on the checkout page blank and prevent them from auto-filling.
- To accomplish this, obtain the field’s name value from the checkout page, as we did in the field mapping instructions above.
- Then return to the plugin’s settings and enter that name value in the Checkout Field Id field. Now, add the ‘none’ property to the Google Shipping Autofill Field.
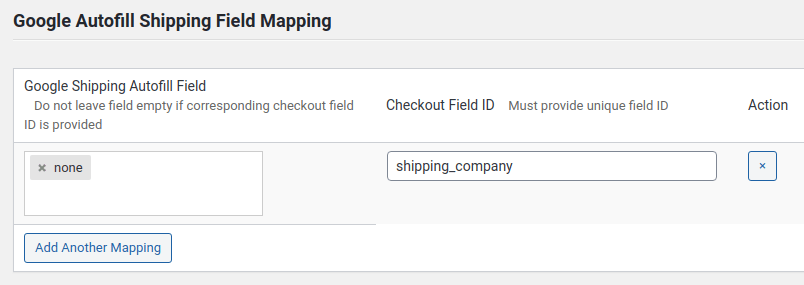
- This ensures that even after autocomplete, the corresponding field remains empty. Even if additional fields are added in addition to the ‘none’ option, the field will always be blank on the checkout page after autocomplete.
Please note that when you add the ‘none’ property in the Field Mapping section. You should do it in the last row with the Checkout Field Id. That you want to leave blank on the checkout page.
If you add any other field mapping below after the entry with ‘none’ mapping. All the fields added below the ‘none’ will be blank on the checkout page as well.